Introduction
This article will walk you through the process of uploading Equity Financing documents that were drafted and executed outside the system. The workflow will capture the required data, update your capitalization table, and store the documents for you on the platform.
If you are looking for information about completing an Equity Financing on the system, please visit this article.
Click the links below to jump to that section of the article:
- Before you get started
- Running the Equity Financing Workflow
- Upload Documents
- Update & Create Stock Classes
- SAFE/KISS and Convertible Note Conversions
- Select Investors
- Provide Stock Certificate Legends
- Select Stock Certificate Method
- Upload Management Rights Letters
- Upload Other Financing Documents
- Update SIP
- Update Board Structure
- Upload Board Approval
- Upload Stockholder Approval
- Optional Data Upload
- Checkpoint
- Confirm Document Versions
- Next Steps
Before you get started
Here are the documents that you will need to have handy to complete this workflow. Note that some of these documents will be requested during the workflow, and others have information that will be helpful as you're inputting the data about your financing:
- Stock Purchase Agreement
- Amended and Restated Charter (or Certificate of Incorporation)
- Amendment to the Stock Incentive Plan (if applicable)
- Voting Agreement
- Right of First Refusal and Co-Sale Agreement
- Investor Rights Agreement
- Board and Stockholder Consents
- Indemnification Agreements
- Legal Opinion (if applicable)
- Management Rights Letters (if applicable)
- Side Letters (if applicable)
- Term Sheet
- Pro Forma Cap Table
The Equity Financing Workflow
Let's Get Started
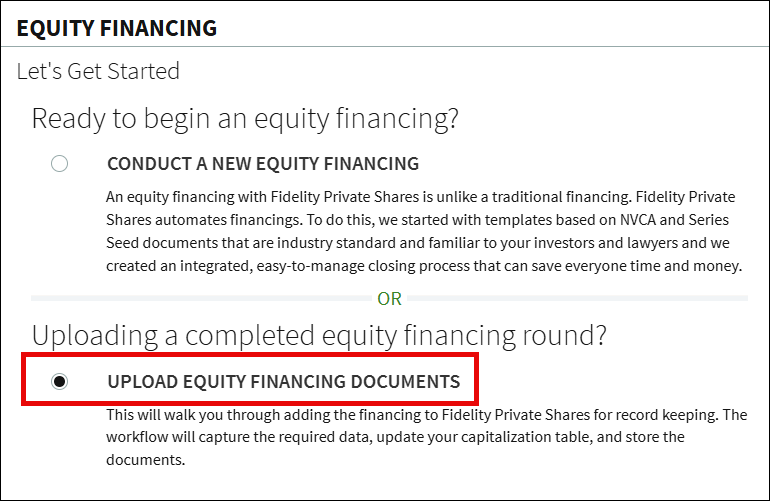
From the Company Workspace, go to the Start New Workflow page and select the Equity Financing workflow. Select the Upload Equity Financing Documents option and click Continue.
Upload Document
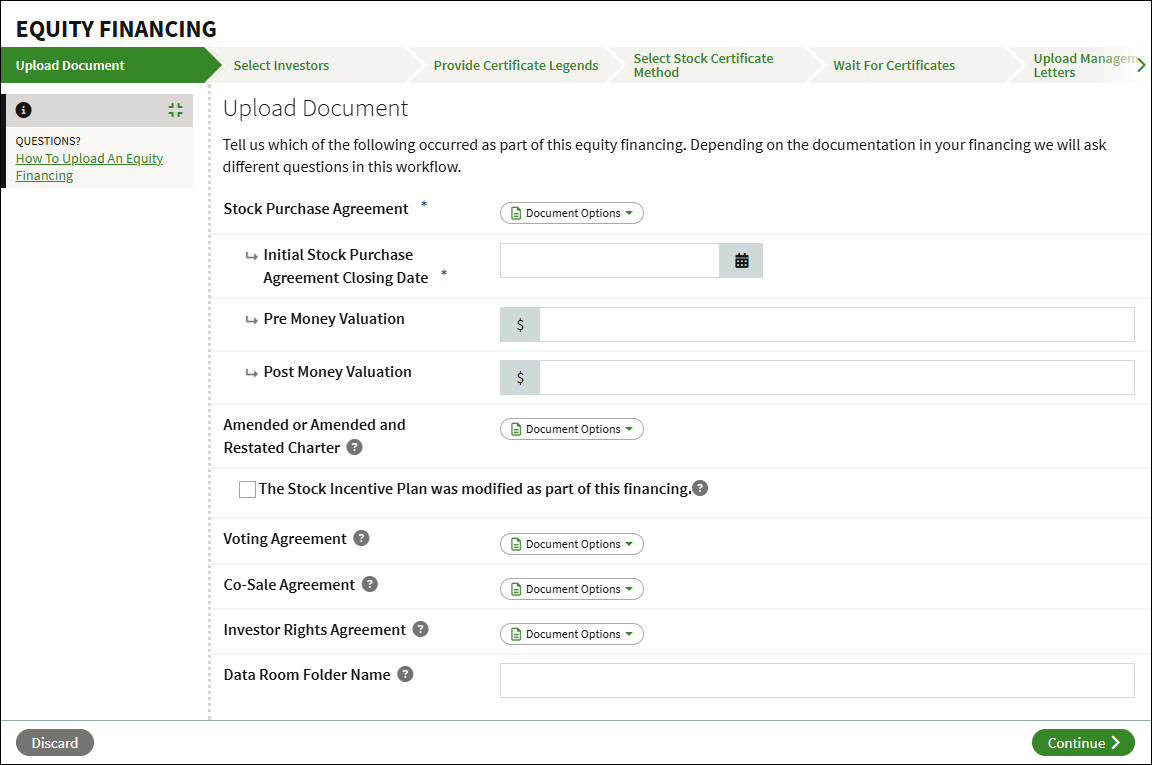
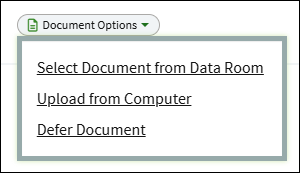
This step is where you will upload documents created and/or updated as part of the financing. To upload a document, click on the Document Options button and select to either upload the document from your computer, select the document from the Data Room, or to Defer uploading the document.
The Stock Purchase Agreement is required. The other requested documents are not required, but should be uploaded if any were amended or modified as part of the financing. Note that the workflow will ask for additional information later on based on the documents uploaded on this step.
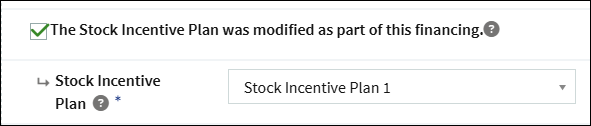
If the Stock Incentive Plan was modified in conjunction with the financing, check the box and select which plan was affected.
If you are uploading documents from your computer, you can designate a specific folder in the Data Room. Enter the desired name of the folder in this field. If left blank, the name of the folder will automatically be generated based on the name of the stock class and closing date of the financing.

Once all necessary documents and information has been added, click Continue.
Update & Create Stock Classes
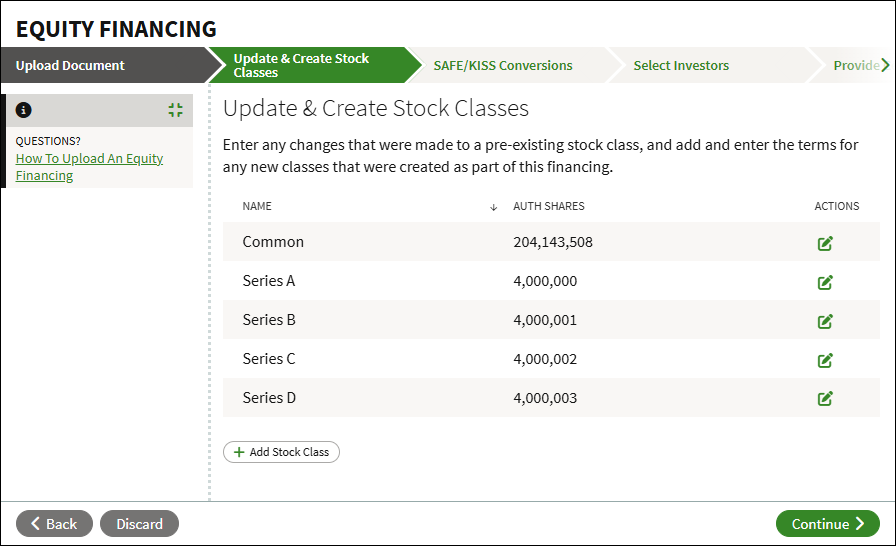
On this step, you can update any changes made to existing stock classes, as well as adding in the stock class(es) created as part of the financing. Click the Edit icon in the Actions column to change an existing stock class. Follow the steps below to add the new stock class:
- Click Add Stock Class.
- Add in the required information for the new stock class and click Save.
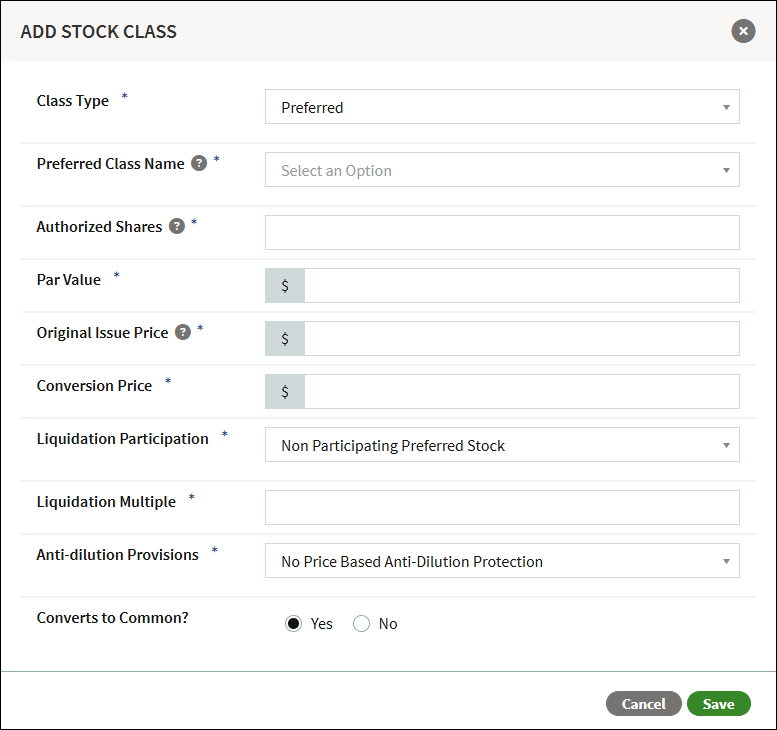
- Repeat these steps if there are multiple new classes of stock.
When all changes and additions have been made, click Continue.
SAFE/KISS and Convertible Note Conversions
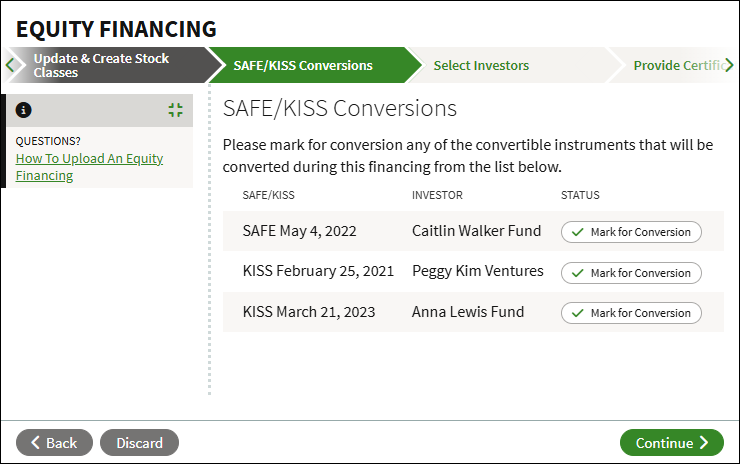
These next steps will show outstanding convertible instruments (SAFEs, KISSes, or convertible notes). If you do not have any outstanding convertible instruments, these steps will not display. If none of these will convert, you can click Continue to skip this step.
- Click Mark for Conversion.
- Select the stock class and click Continue.
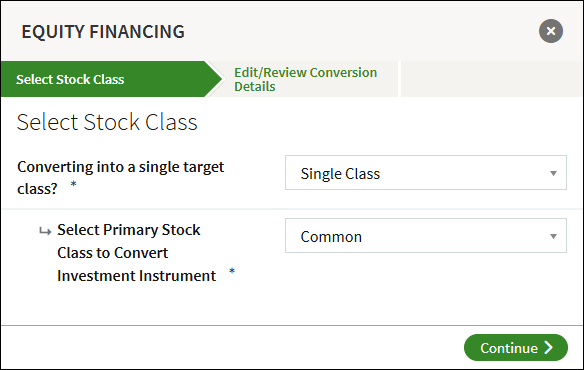
- Review the conversion details. If you need to make any changes, click the Edit icon.
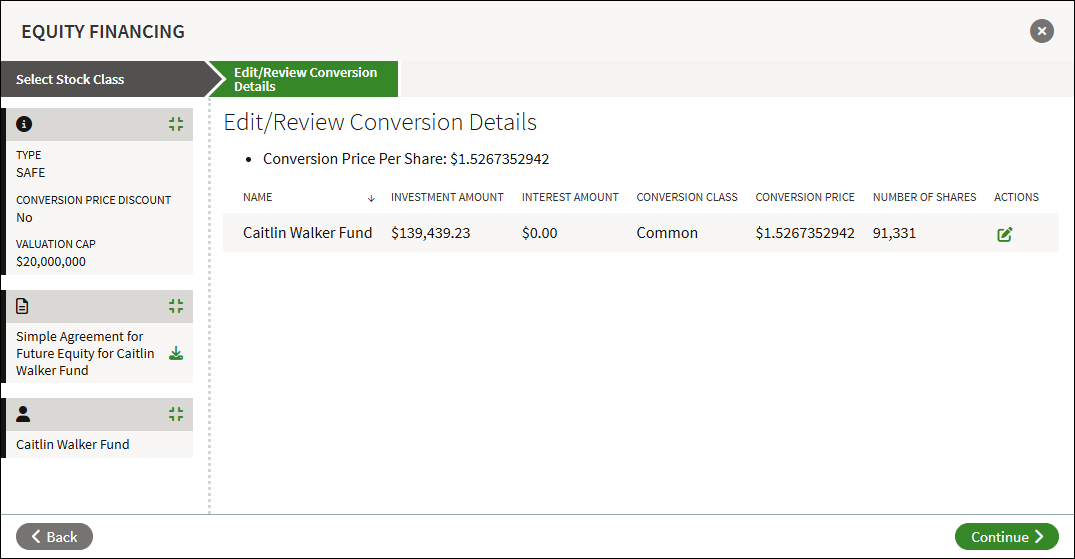
- Click Continue to save the conversion.
Select Investors
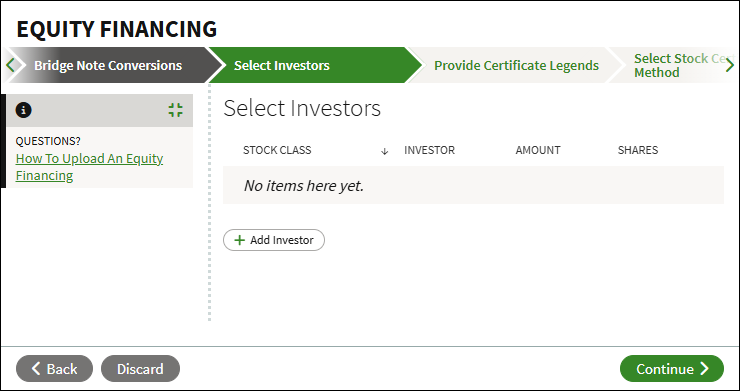
This step is where you can add each investor associated with this financing. You can select existing investors in your account, or add new investors.
- Click on Add Investor.
- Search for an existing investor, or select Create New User.
- Select the Stock Class, enter the Investment Amount, and the Shares Purchased.
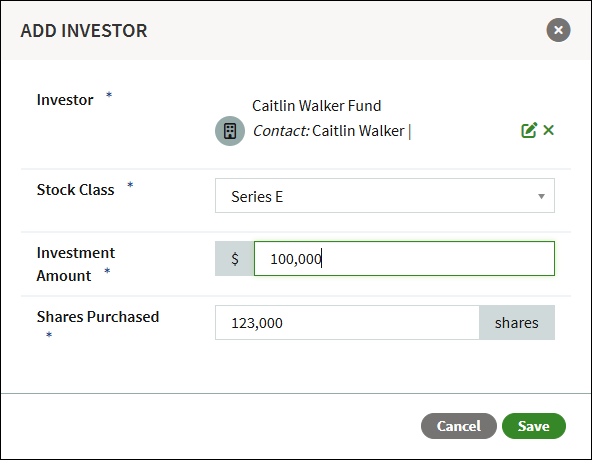
- Click Save.
- Repeat these steps until all new investors have been added, and click Continue.
Provide Stock Certificate Legends
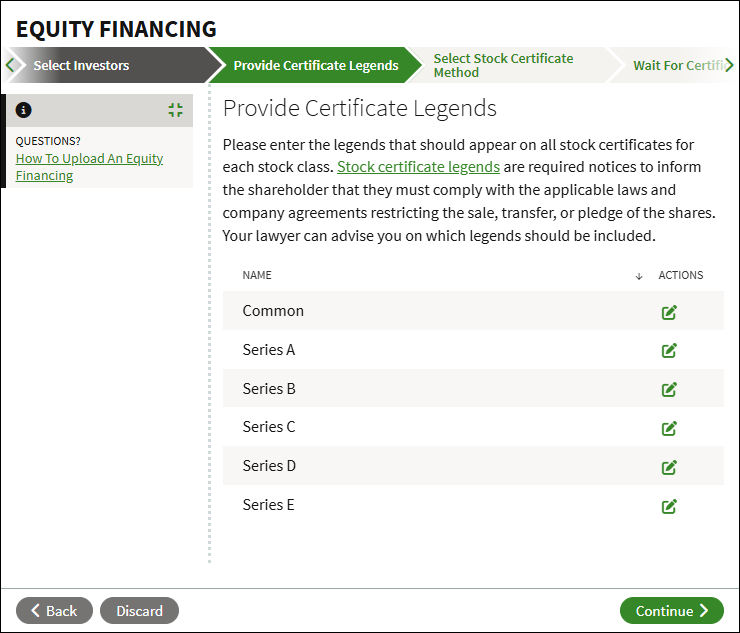
Add or edit the legends that will appear on your stock certificates. Stock certificate legends are required notices to inform the shareholder that they must comply with the applicable laws and company agreements restricting the sale, transfer, or pledge of the shares. Your lawyer can advise you on which legends should be included.
Clicking on the Edit icon to the right of the listed share classes to review and/or add the necessary legends.
Select Stock Certificate Method
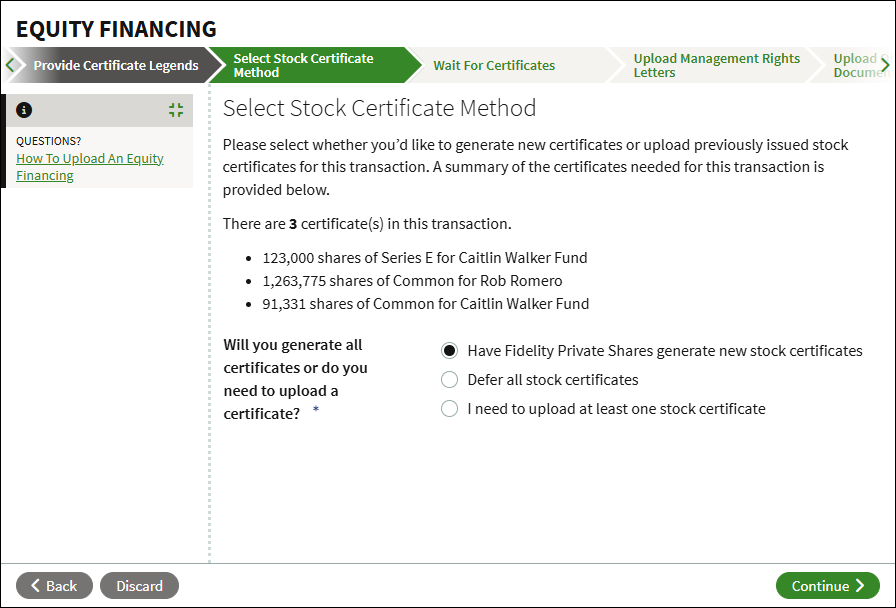
Select how you want to handle the stock certificates for the financing. You can select to have the platform generate stock certificates, defer all stock certificates to be generated at a later time, or upload stock certificates that were generated outside of the platform.
Upload Management Rights Letters
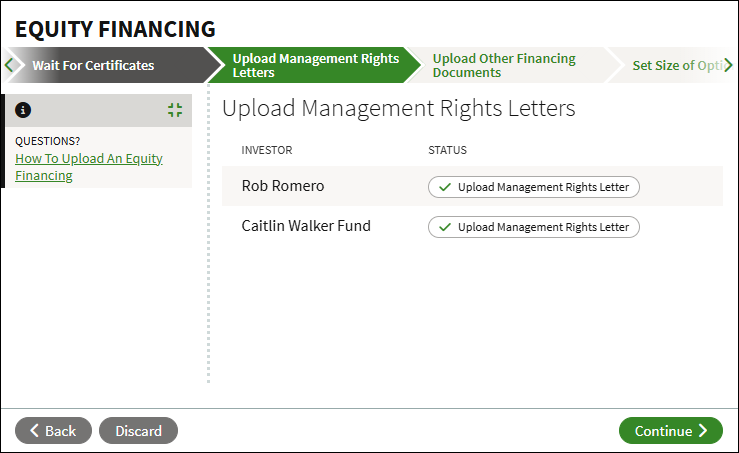
If applicable, you will be prompted to upload Management Rights Letters. Click Upload Management Rights Letter and select to upload the document, select an existing document from the Data Room, or to defer the document to be uploaded at a later time.
Upload Other Financing Documents

If there are any other documents related to the financing that have not yet been uploaded, you can include them on this step. Otherwise, click Continue.
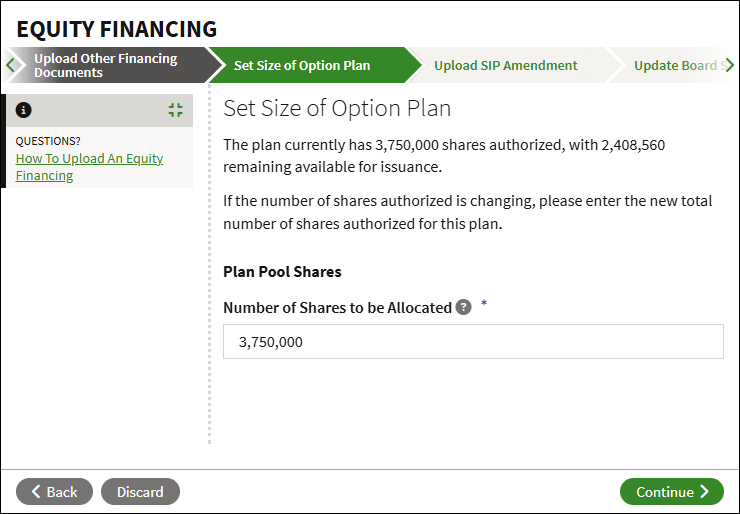
Update SIP
If you indicted in the Upload Document step that the SIP was affected as part of the financing, you'll be prompted to update the details of the plan. If the size of the plan is changing, enter the new total number of shares authorized.
You will next be prompted to upload the amended Stock Incentive Plan document. Click Document Options and select to upload the document, select an existing document from the Data Room, or to waive the document. Enter the effective date of the amendment, and confirm the post termination exercise (PTE) periods.

Update Board Structure
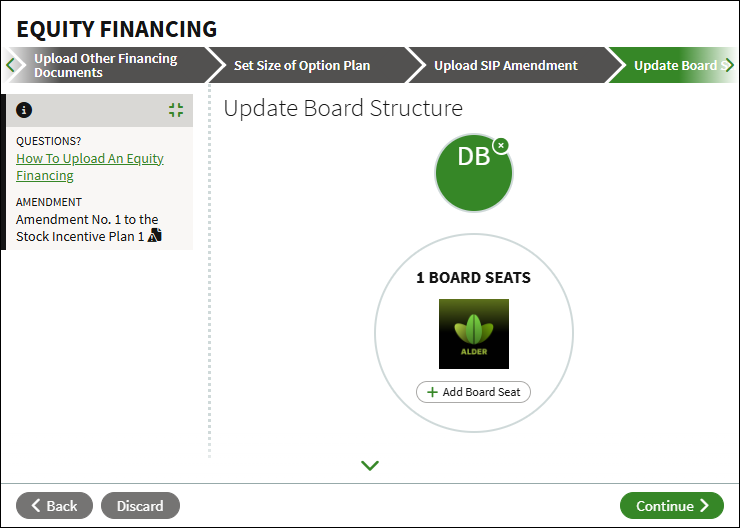
If there have been any changes to the board related to the financing, you can update the board structure. You can add an occupied seat or empty seat, or you can remove seats from the board. Follow these steps to add a new seat.
- Click Add Board Seat.
- Enter the details for the new board seat.
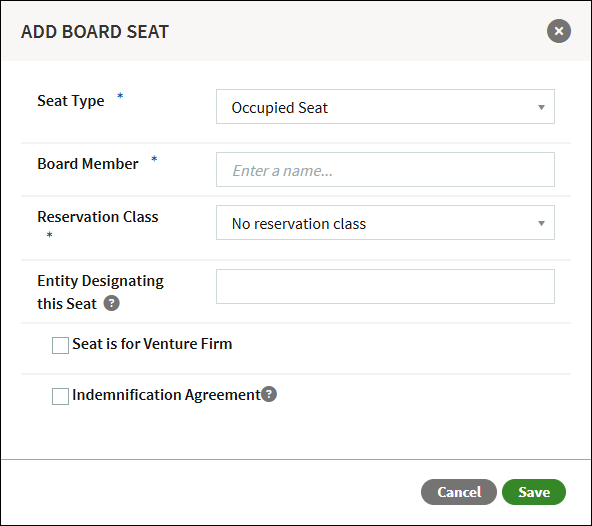
- Click Save.
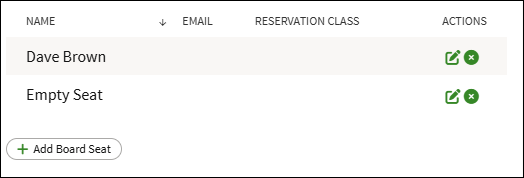
To edit or remove seat, click the appropriate icon in the Actions column on the bottom section of this page.
Upload Board Approval
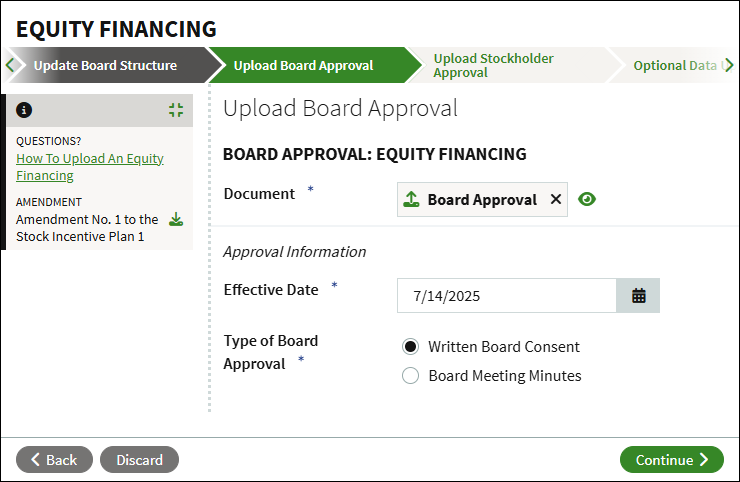
Click Document Options and select to select to upload the document from your computer, select an existing document from the Data Room, or to defer the document to be uploaded at a later time. Enter the effective date of the approval, and indicate if the document is a Written Board Consent or Board Meeting Minutes.
Upload Stockholder Approval
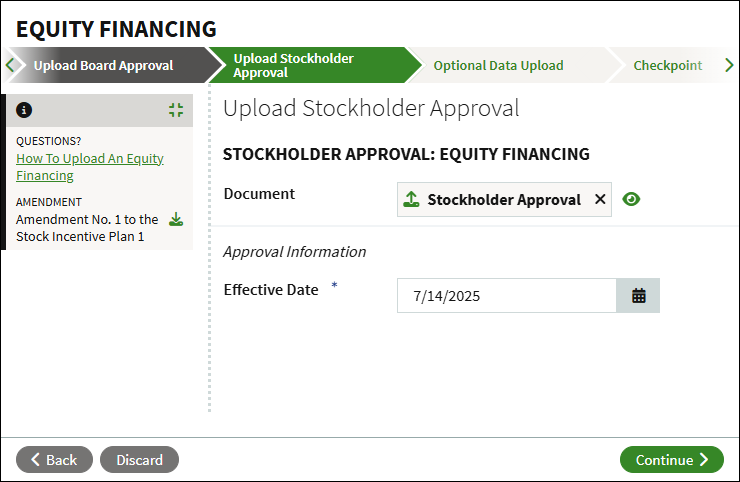
Click Document Options and select to select to upload the document from your computer, select an existing document from the Data Room, defer the document to be uploaded at a later time, or to waive the document. Enter the effective date of the approval, and click Continue.
Optional Data Upload
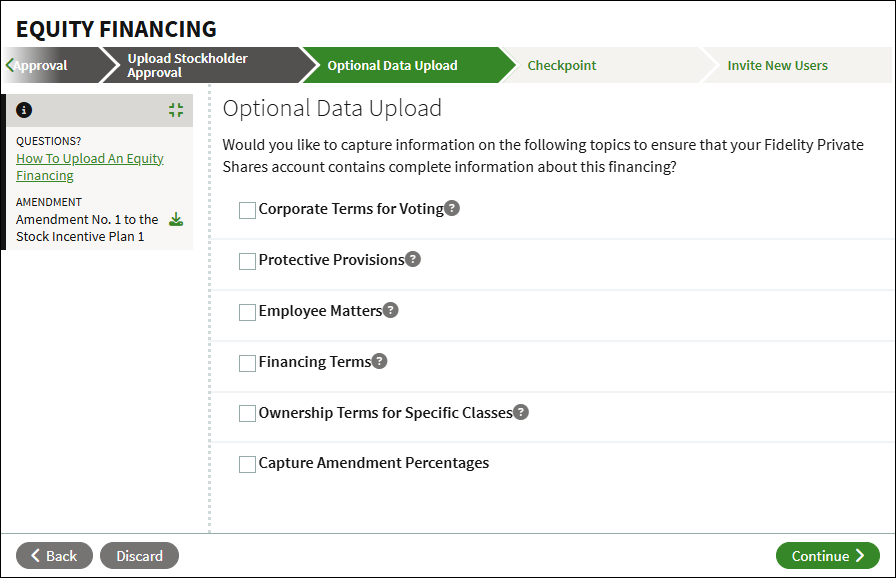
Check the boxes if you wish to capture any changes related to these topics.
- Corporate Terms for Voting
- Protective Provisions
- Employee Matters
- Financing Terms
- Ownership Terms for Specific Classes
- Capture Amendment Percentages
If any boxes are checked, you'll be prompted to upload the documents in the next step.
Checkpoint
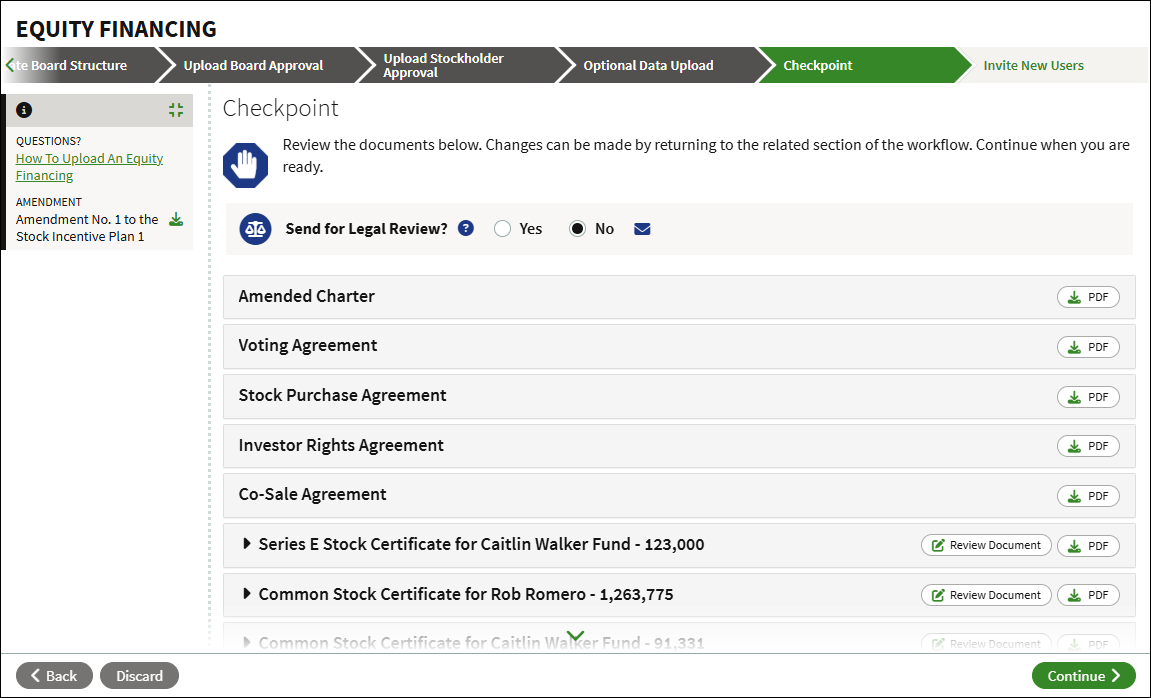
At the checkpoint you can review all of the documents and information related to the financing. You can opt to share the documents with other users, or send all of the documents to your legal counsel for review before continuing.
Confirm Document Versions
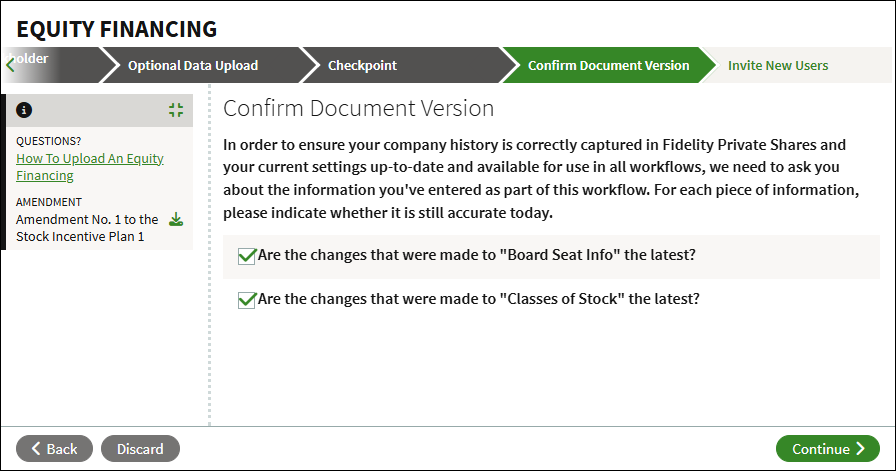
To ensure we are capturing your company history correctly, you may be prompted to confirm the information added as part of the workflow is still current as of today.
Next Steps
Depending on the options selected during the workflow, you may have some additional tasks such as signing stock certificates, or inviting new users to the platform. Once these additional tasks have been completed, the equity financing will be complete: your cap table will be updated to reflect the new round, and all documents will be stored correctly in the Data Room. If there are any other changes related to the financing, such as changes to the company officers, or the adoption of a new SIP, you can run the appropriate workflows to capture those changes.
Screenshots are for illustrative purposes only.
Fidelity does not provide legal or tax advice. The information herein is general in nature and should not be considered legal or tax advice. Consult an attorney or tax professional regarding your specific situation.
Fidelity Private Shares LLC provides cap table management and other administrative services to private companies and their equity compensation plans.
Fidelity Private Shares LLC
© 2025 FMR LLC. All rights reserved.
1093625.2.0