Introduction
The Stock Transfer workflow allows you to transfer ownership of a stock certificate from one person or entity to another. This article explains how to record a new stock transfer in the platform, including generating the Stock Transfer Agreement, sharing document access, and issuing new stock certificates.
To record transfers that occurred outside the platform or upload multiple transfers in bulk, see our article on recording existing stock transfers.
Stock transfers typically do not involve cash. For transactions that include a sale of stock between holders, refer to our article on recording existing secondary sales.
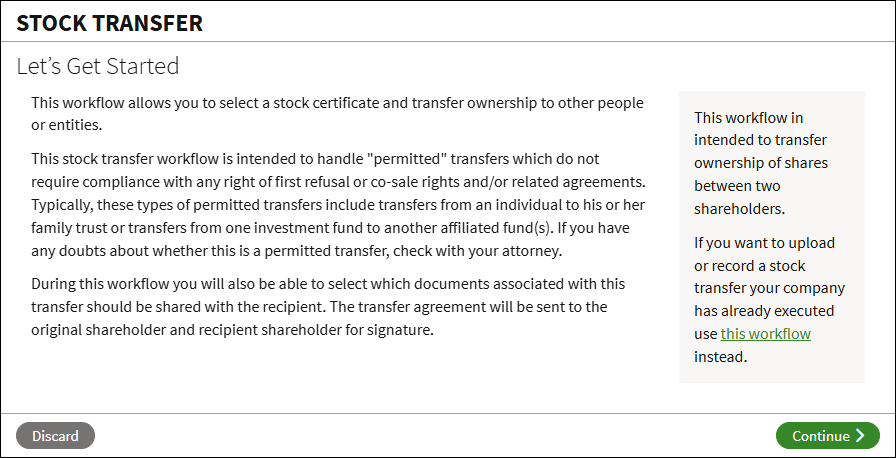
This workflow is designed for permitted transfers that do not require compliance with rights of first refusal, co-sale rights, or related agreements. Common examples include transfers to a family trust or between affiliated investment funds, usually without payment.
Please note: Stock transfers may have tax implications. If you’re unsure whether your transaction qualifies as a permitted transfer, consider consulting your legal advisor before starting the workflow.
Stock Transfer Workflow
Let's Get Stated
From the Company Workspace, navigate to Start New Workflow > Equity > Stock Transfer.
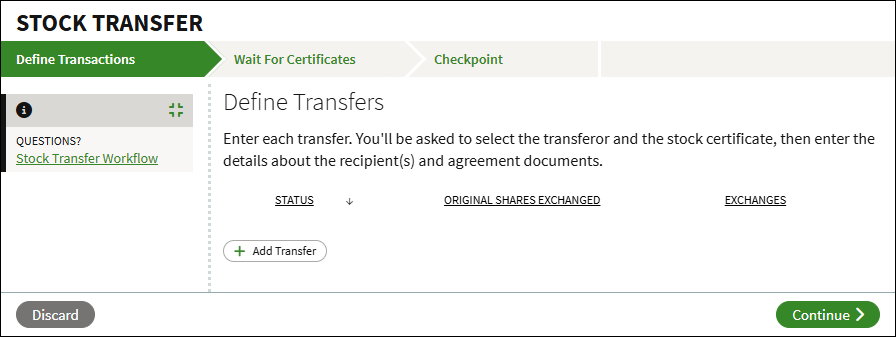
Define Transactions
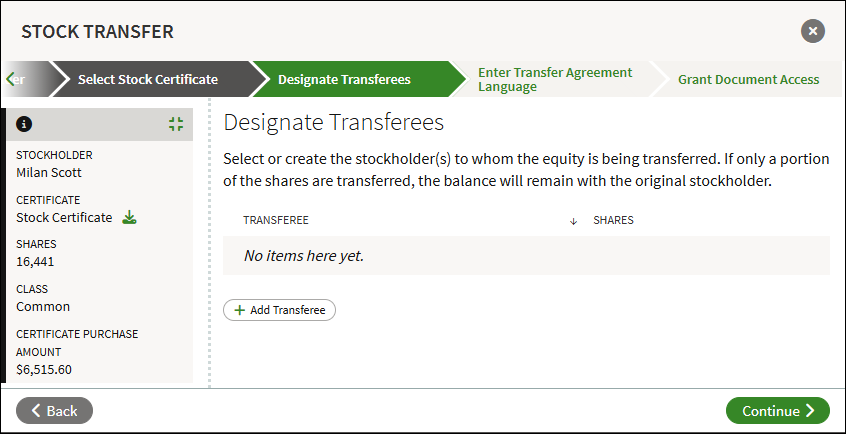
For each transfer you will select the certificate being transferred and enter the details of the recipient(s) and agreement documents. Multiple transfers can be added from this step. If the transfer is not for the entire certificate, any remaining shares will be issued into a new certificate for the original holder.
- Click Add Transfer.
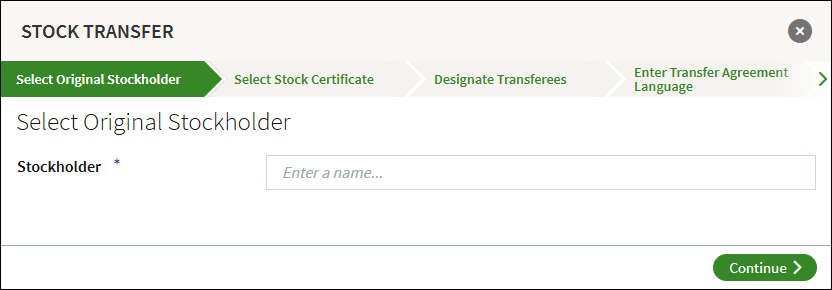
- Search for and select the holder of the certificate being transferred and click Continue.
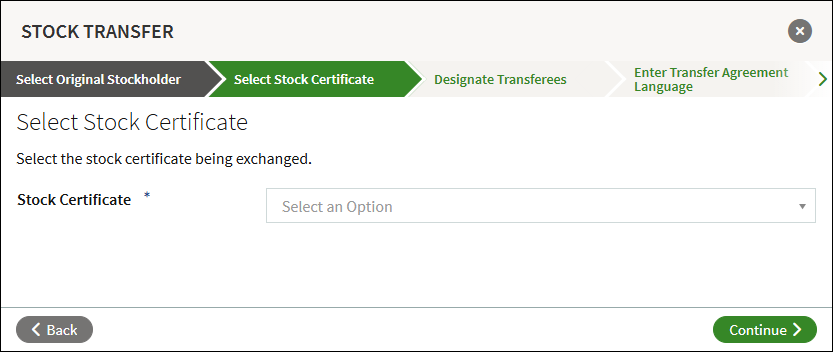
- Select the stock certificate from the dropdown menu, and click Continue.
- Click Add Transferee. Note that multiple recipients can be added here.
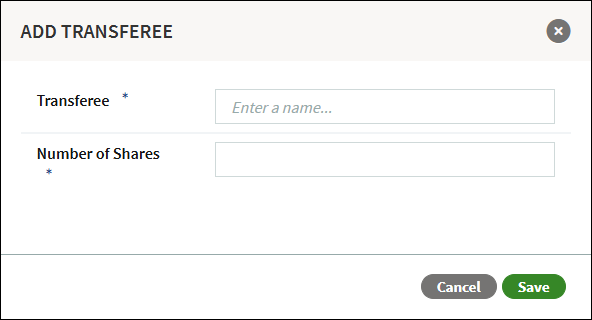
- Enter the name of the recipient and the number of shares received, and click Save. If the transferee is not a current user in your account, you can add them as a new user and opt to invite them to the platform later in the workflow.
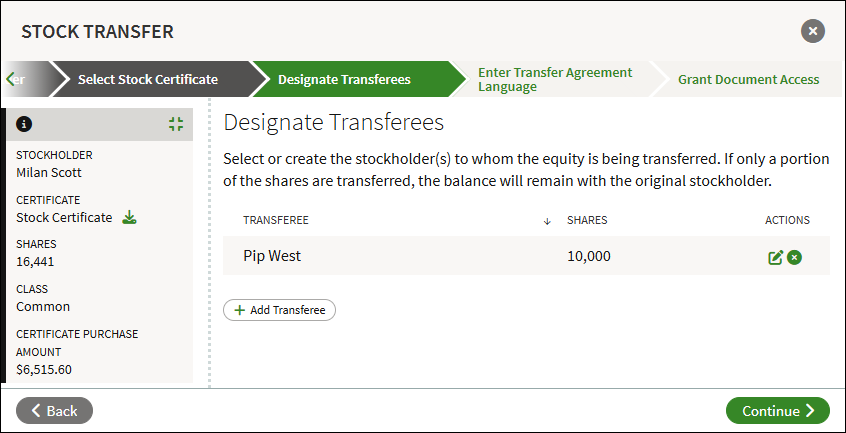
- To add additional transferees, click Add Transferee and repeat the previous step. Click the Edit icon to make changes to a transferee, or click the X to remove the transferee. Otherwise, click Continue.
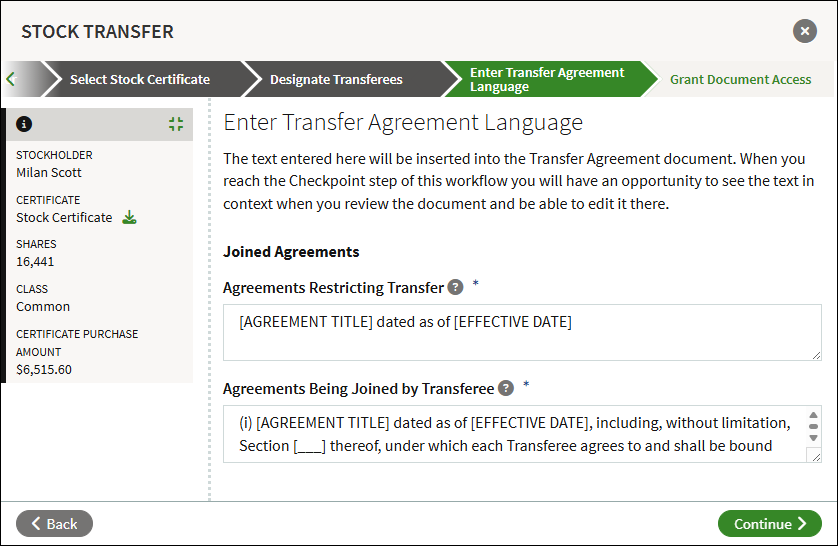
- Enter the language for the Transfer Agreement and click Continue.
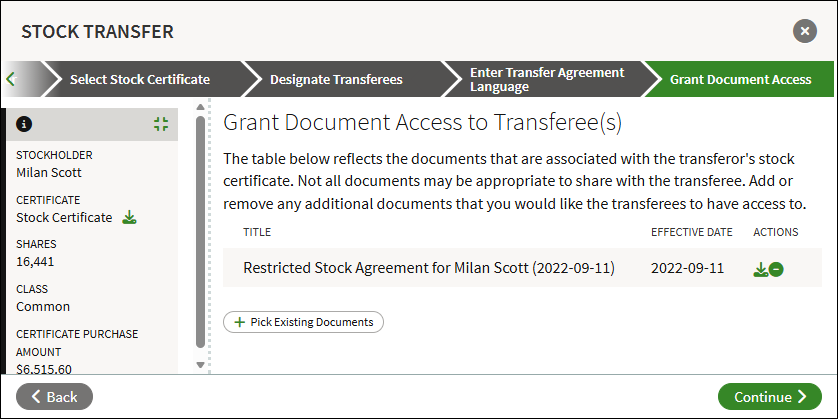
- Any listed documents will be shared with the transferee(s). Click Pick Existing Documents to include additional documents from the Data Rom. To remove access, click the minus button to remove the document. Click Continue to save the transfer.
- The transfer will now be listed. To add additional transfers, click Add Transfer. To edit or remove a transfer, click the three-bar menu. Otherwise, click Continue.
Checkpoint
The Stock Transfer Agreement, Stock Power Agreement, and Common Stock Certificate will be generated, which you can review at the Checkpoint. There will also be an opportunity for you to send the documents for legal review. When you are ready to send the documents out for signature, click Continue.
Wait For Signatures
A notification is sent out to the applicable company representatives to sign documents. Once signed, all documents will be automatically added to the Data Room, and the stock ledger and cap table will be adjusted accordingly.
Screenshots are for illustrative purposes only.
Fidelity Private Shares LLC provides cap table management and other administrative services to private companies and their equity compensation plans.
Fidelity Private Shares LLC
© 2025 FMR LLC. All rights reserved.
1092473.3.0