Introduction
The Record Existing Stock Transfer workflow allows you to add a transfer of ownership of a stock certificate from one person or entity to another. This article explains how to record a transfer that happened outside of the platform. During this workflow, you’ll be asked to provide information about the original stockholder, recipient(s), and have the opportunity to determine which documents associated with this transfer should be shared with the recipient(s). This workflow will allow you to upload or create the certificate(s) resulting from this transfer.
This workflow allows you to record each transfer separately, or you can upload multiple transfers in bulk.
To execute a new transfer in the platform, see our article on running the Stock Transfer Workflow.
Stock transfers typically do not involve cash. For transactions that include a sale of stock between holders, refer to our article on recording existing secondary sales.
This workflow is designed for permitted transfers that do not require compliance with rights of first refusal, co-sale rights, or related agreements. Common examples include transfers to a family trust or between affiliated investment funds, usually without payment.
Please note: Stock transfers may have tax implications. If you're unsure whether your transaction qualifies as a permitted transfer, consult your legal advisor before starting the workflow.
Click the links below to jump to that section of the article:
Record stock transfer - separately
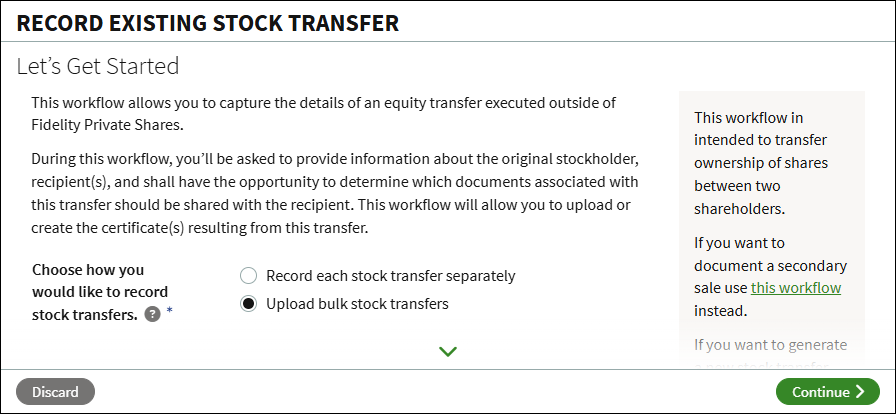
Let's Get Started
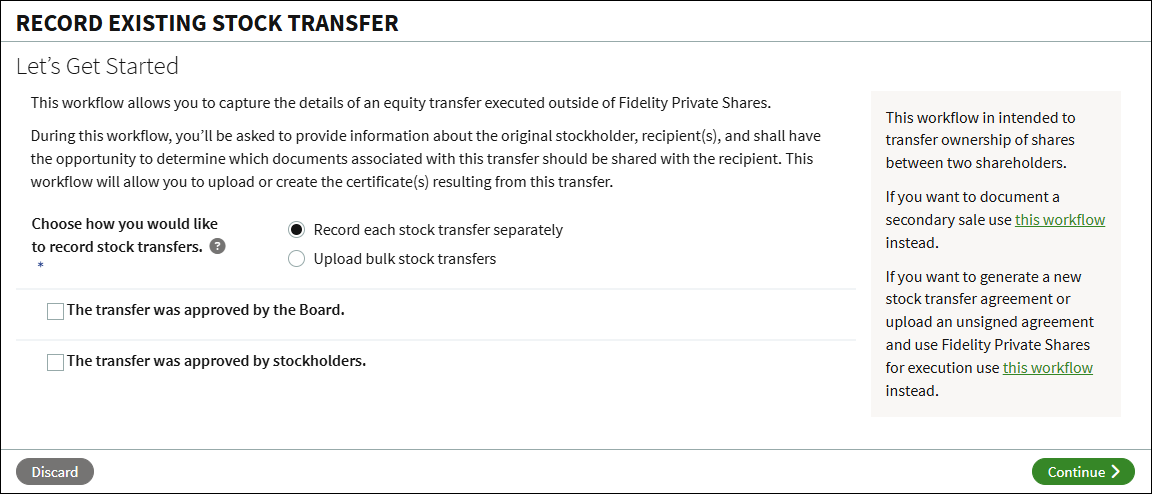
- From the Company Workspace, navigate to Start New Workflow > Equity > Record Existing Stock Transfer.
- Select Record each stock transfer separately.
- If the transfer was approved by the board and/or stockholders, check the boxes and you'll be prompted to upload the associated approvals later in the workflow.
- Click Continue.
Upload/Pick Agreement
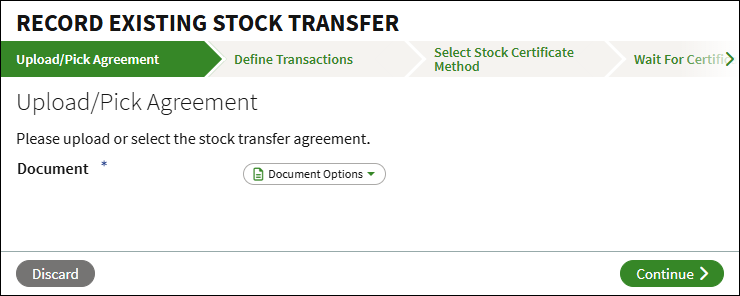
- Click Document Options.
- Select to upload the transfer agreement from your computer or to select the agreement from the Data Room.
- Enter the Effective Date of the transfer agreement and click Continue.
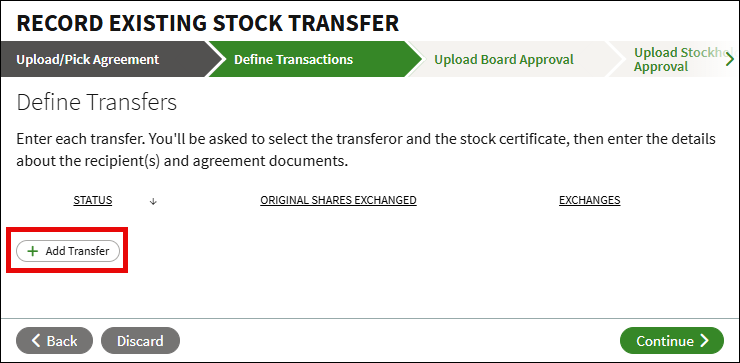
Define Transactions
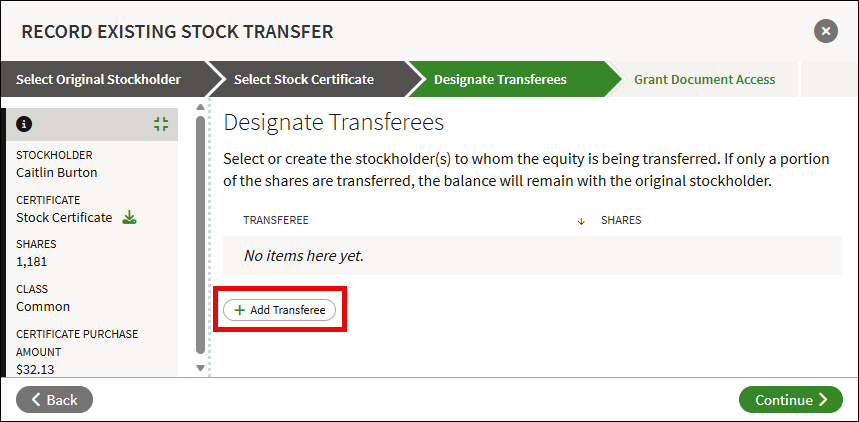
For each transfer, you'll select the stock certificate and enter the details of the transfer. You can repeat these steps to add additional certificate transfers. If only a portion of the shares are transferred, the remaining shares will be issued in a new certificate to the original holder.
- Click on Add Transfer.
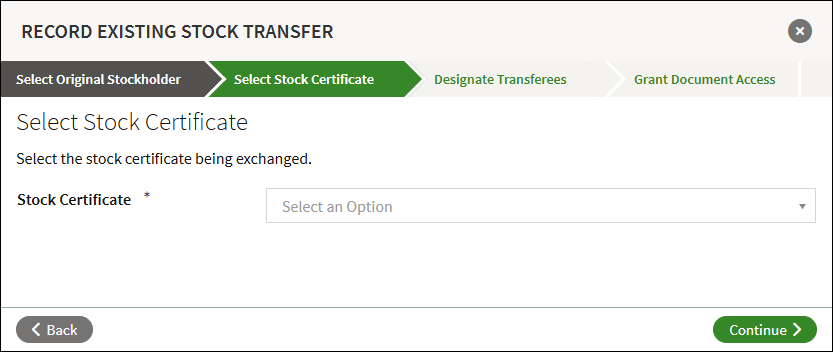
- Search for and select the name of the original stockholder and click Continue.

- Select the stock certificate being transferred from the dropdown menu, and click Continue.
- Click Add Transferee.
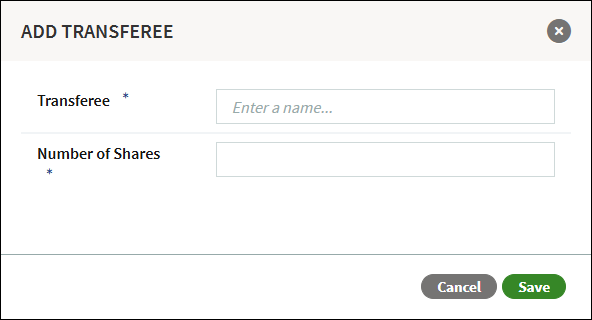
- Enter the name of the transferee and the number of shares received, and click Save. If the transferee has not yet been added to your account, you can add them as a new user and you can opt to invite them to the platform later in the workflow.
- If there are additional transferees, click Add Transferee and repeat the previous step. To make changes to the transferee, click the Edit icon. To remove the transfer, click X. Otherwise, click Continue.

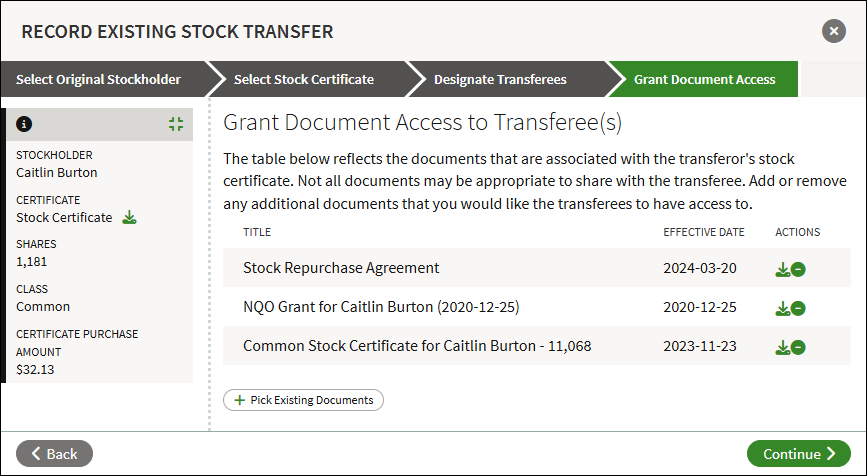
- The documents listed are associated with the original stockholder's certificate that can be shared with the transferee(s). Click the minus button for any document that should not be shared with the transferee(s). Click Pick Existing Documents to select additional documents to share from the Data Room. When ready, click Continue.
- The transfer has been added. To make changes or remove the transfer, click the three-bar menu. To add additional transfers, click Add Transfer and repeat the above steps. Once all transfers have been added, click Continue.
Upload Board and Stockholder Approval (optional)
If checked in the first step, click Document Options to upload the selected approval(s) from your computer or select it from the Data Room. If not checked, you can skip these steps.
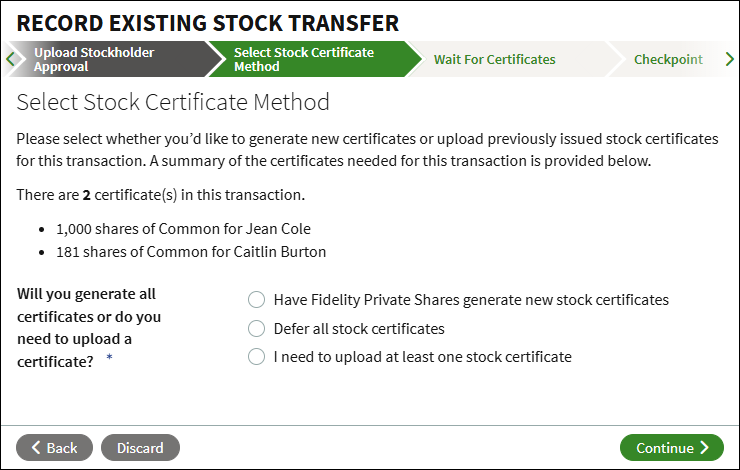
Select Stock Certificate Method
Select how to handle the resulting stock certificates for the transfer. You can use Fidelity Private Shares to generate new stock certificates, defer stock certificates to be generated in a separate workflow at a later time, or to upload at least one of the stock certificates.
Checkpoint
At the Checkpoint you can review the associated documents before sending out for review and signature. You can optionally share the documents or send the workflow for legal review before continuing.
Signature Process
If you've used the generative path for the stock certificate, the company representative(s) will sign the certificate. Once signed, all documents will be automatically added to the Data Room, and the Stock Ledger and Cap Table will be adjusted accordingly. If any new users were added as a transferee, you can also choose to invite them to the platform, or you can wait to invite them at a later time.
Upload bulk stock transfers
This workflow option lets you record multiple transfers at once. To do this, first download the provided template and enter the details for each transfer. Once completed, upload the template to record all transfers.
Let's Get Started
- From the Company Workspace, go to Start New Workflow > Equity > Record Existing Stock Transfer.
- Select Upload bulk stock transfers and click Continue.
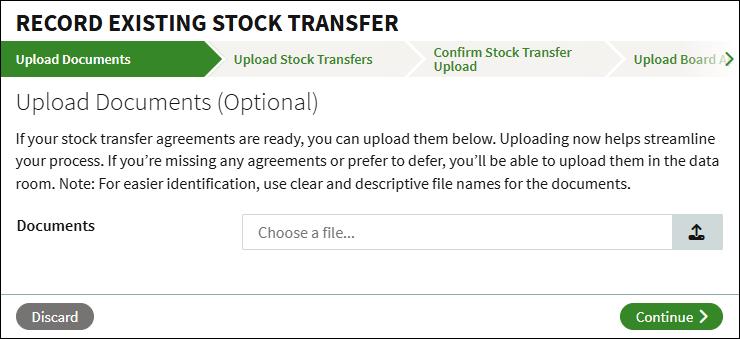
Upload Documents (optional)
The transfer agreements can be optionally uploaded at this step, or can be uploaded later from the Data Room. Click Choose a file to upload the agreement(s) from your computer. It is recommended to use clear and descriptive file names.
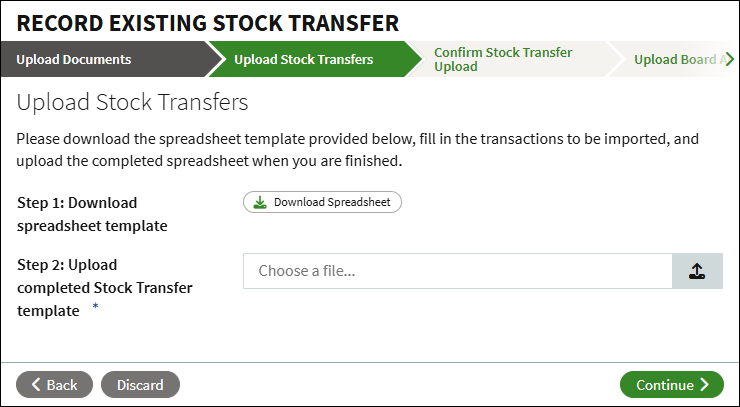
Upload Secondary Sales
In this step you will download and fill out the template. The template consists of four tabs (Transfers, Transferees, Stock Certificates, and Documents) where you will add the information to define each transfer. See the sections below on the information on each tab of the template.
After recording all transactions, save the template. Then upload it by clicking Choose a file, and select the template from your computer. Click Continue to import the template.
Transfers tab
Use this tab to define the transfers. For each transaction, add a new line item. If there are multiple transferees, you can select the same certificate for each. If a certificate’s full share amount is not transferred, any remaining shares will be issued into a new certificate for the original holder.
- Open the Transfers tab.
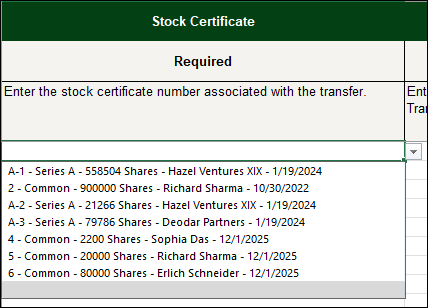
- In the Stock Certificates column, select the stock certificate being transferred from the dropdown menu.
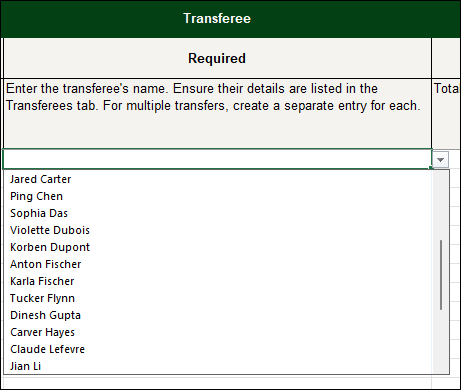
- In the Transferee column, select the transferee from the dropdown menu. Any new transferees not yet added to your account need to be added in the Transferees tab.
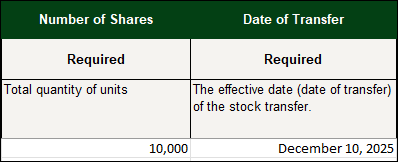
- Enter the Number of Shares transferred and the Date of Transfer in their respective columns.
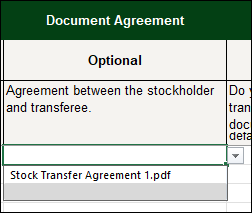
- Select the sale agreement from the dropdown menu in the Document Agreement column if uploaded in the previous step. Otherwise leave this column blank.
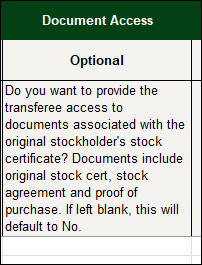
- In the Document Access column, select if you want to provide the transferee access to any documents associated with the original stock certificate. If left blank, this will default to No.
- Repeat the steps above to add additional transfers.
Transferees tab
This tab lists all existing users in your account, and new transferees can be added. Individuals or third-party entities can be added. Transferees selected in the Transfers tab need to be listed on this tab.
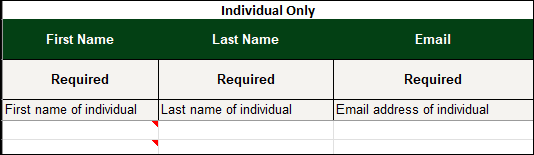
To add an individual, fill out the First Name, Last Name, and Email columns located in the Individual Only section on the left side of the template.
To add a third-party entity, fill out the Entity Name, and optionally the Parent Entity, Entity Contact First Name, Entity Contact Last Name, Entity Contact Email, and Stakeholder ID columns in the Entity Only section on the right side of the template.

Stock Certificates
This tab shows all of the outstanding stock certificates from your Cap Table. This tab is locked from editing, but can be used as a reference when selecting the certificate being transferred.
Documents
Similar to the Stock Certificates tab, the Documents tab is a reference of all documents uploaded in the previous step of the workflow.
Resolve Upload Errors
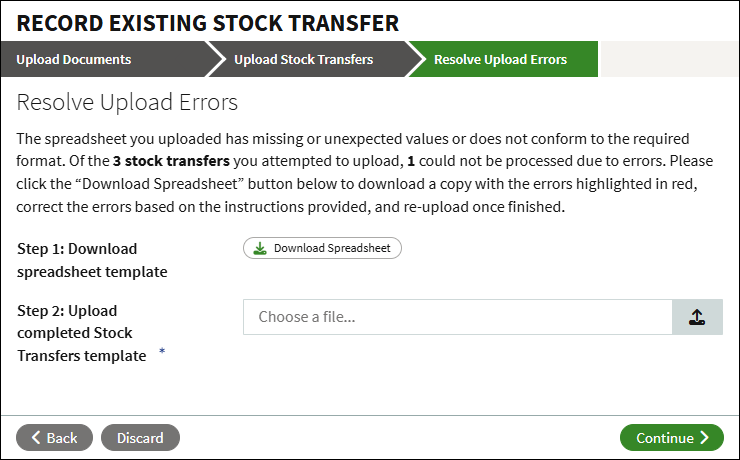
If there are missing or unexpected values in the template, you will be prompted to resolve these errors. Click Download Spreadsheet to download a copy of the template where the errors are highlighted in red.
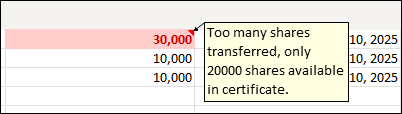
Errors will be highlighted in red with a note explaining the error.
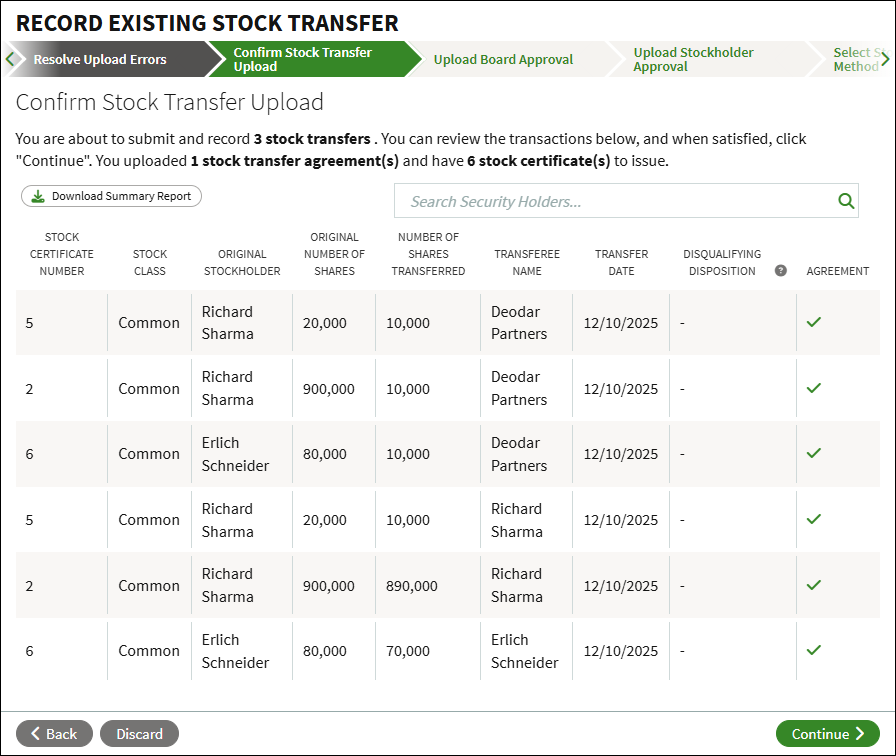
Confirm Secondary Sales Upload
Each transaction recorded in the template will display for your review. You can search the summary, or click to Download a Summary Report. If any changes need to be made, click the Back button and reimport the template.
Upload Board Approval and Stockholder Approval
Click Document Options to either upload the approval from your computer, select the approval from the Data Room, or to defer uploading the document to a later time. Enter the Effective Date, and select the Type of Board Approval.
Repeat these steps for the Stockholder Approval.
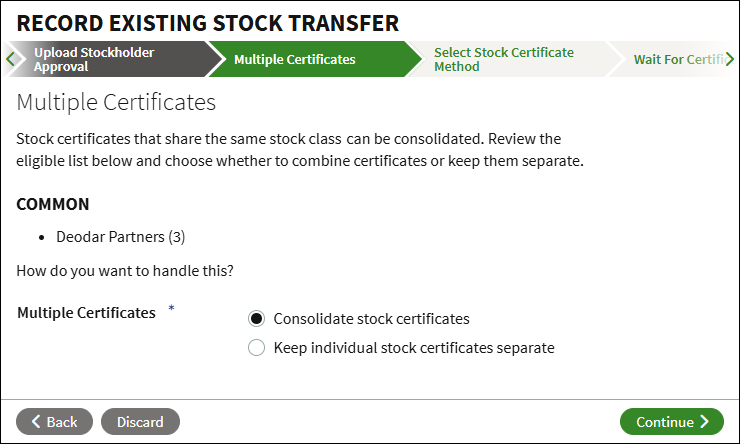
Multiple Certificates
Certificates that share the same stock class and holder can be consolidated. If there are any eligible certificates you will be prompted to either consolidate the certificates, or keep the the individual stock certificates separate. If there are no eligible certificates, you will not see this step.
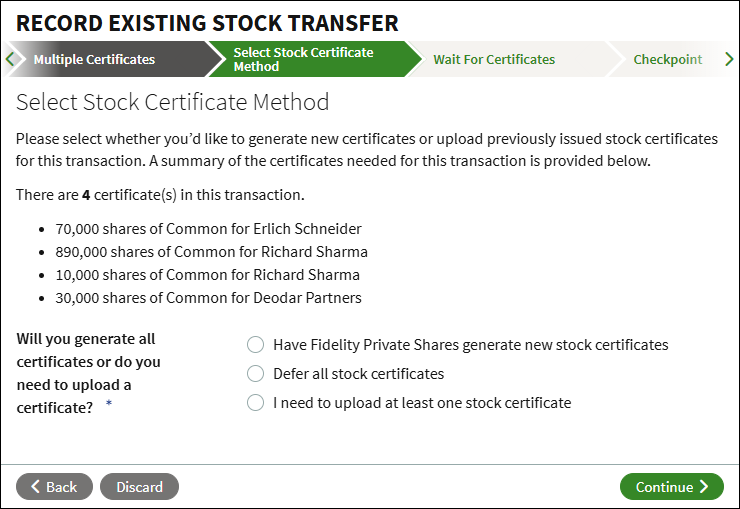
Select Stock Certificate Method
Select how to handle the resulting stock certificates for the transfer. You can use Fidelity Private Shares to generate new stock certificates, defer stock certificates to be generated in a separate workflow at a later time, or to upload at least one of the stock certificates.
Checkpoint
At the Checkpoint you can review the associated documents before sending out for review and signature. You can optionally share the documents or send the workflow for legal review before continuing.
Signature Process
If you've used the generative path for the stock certificate, the company representative(s) will sign the certificate. Once signed, all documents will be automatically added to the Data Room, and the Stock Ledger and Cap Table will be adjusted accordingly. If any new users were added as transferees, you can also choose to invite them to the platform, or you can wait to invite them at a later time.
FAQs
What if the transactions are from different Board of Director or Stockholder Agreements? This workflow will only let you add transactions that are associated with the same board and/or stockholder agreement. If there are transactions approved in a different agreement, you will need to run the workflow again and select the corresponding approvals.
What if there are multiple transactions for a single grant? You can list multiple transactions related to the same certificate and seller, as long as the sale date is the same, and the sales are approved in the same board/stockholder approval.
What if there is a disqualifying disposition? Do I need to take any additional action? The system will automatically detect potential disqualifying dispositions and display a warning message on the Confirmation page after uploading the bulk template. If the transaction is ultimately identified as a disqualifying disposition, it will appear on the Disqualifying Dispositions Report. At that point, you should follow your standard internal procedures for handling disqualifying dispositions.
If you believe the transaction was flagged in error, you should review the underlying data to understand why it was identified as a potential disqualifying disposition. If further clarification or action is needed, you should contact our Support team for further assistance.
What happens if I upload the template for the same certificate twice? The import process will display an error message related to the certificate if it has already been included in a previous transaction. When a template is processed, certificates that are part of a transaction are canceled and new certificates are issued. If you accidently upload a template used in a previous workflow, those certificates would no longer be outstanding, which prevents risk of duplicating the transaction.
What happens if there are new users? New users can be added manually if adding the secondary sales individually, or can be added in the Purchasers tab on the bulk template.
Will new users be invited to the platform? New users will not be invited automatically to the platform. You will be prompted if you want to invite new users or you can defer their invitation as part of the workflow.
Screenshots are for illustrative purposes only.
Fidelity does not provide legal or tax advice. The information herein is general in nature and should not be considered legal or tax advice. Consult an attorney or tax professional regarding your specific situation.
Fidelity Private Shares LLC provides cap table management and other administrative services to private companies and their equity compensation plans.
Fidelity Private Shares LLC
© 2026 FMR LLC. All rights reserved.
1241276.1.0