Introduction
This article will walk you through the process of uploading an existing Convertible Note. This article has steps on how to create a new convertible note. In this workflow you will upload the existing note purchase agreement (NPA), and add in all notes and investors, and upload the necessary board approvals.
See this article to learn more about Convertible Notes and how they work, or this article on how to amend an existing note purchase agreement.
Click the links below to jump to that section of the article:
- Let's Get Started
- Provide NPA
- Add Purchasers
- Upload Board Approval
- Upload Stockholder Approval
- Upload Secretary Certificate
- Checkpoint
- Next Steps
Upload Convertible Note
Let's Get Started
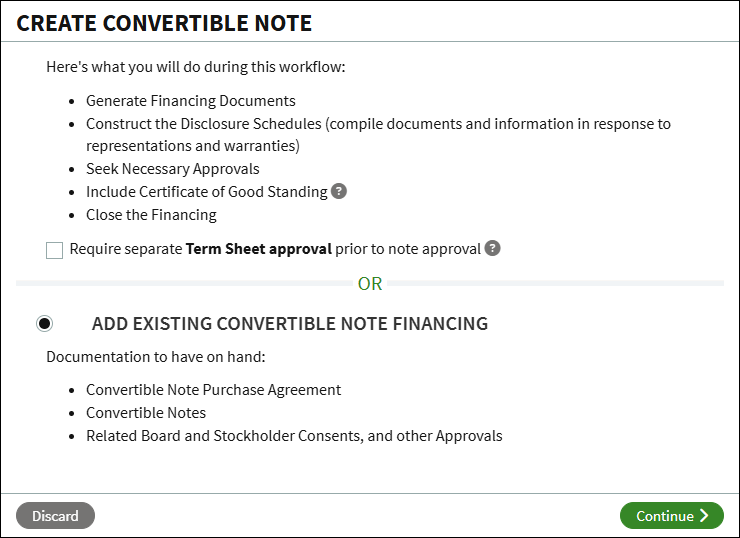
From the Company workspace, go to Start New Workflow > Financing > Convertible Note. Select Add Existing Convertible Note Financing and click Continue.
Note that you will need to upload these documents as part of the workflow:
- The Note Purchase Agreement (NPA)
- The executed note(s)
- Any related board or stockholder approvals or consents
Provide Note Purchase Agreement
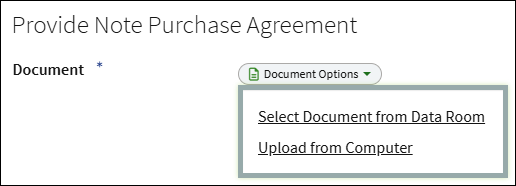
The Note Purchase Agreement needs to be uploaded. Click Document Options and select to either use a document already uploaded into the Data Room, or to upload the document from your computer.
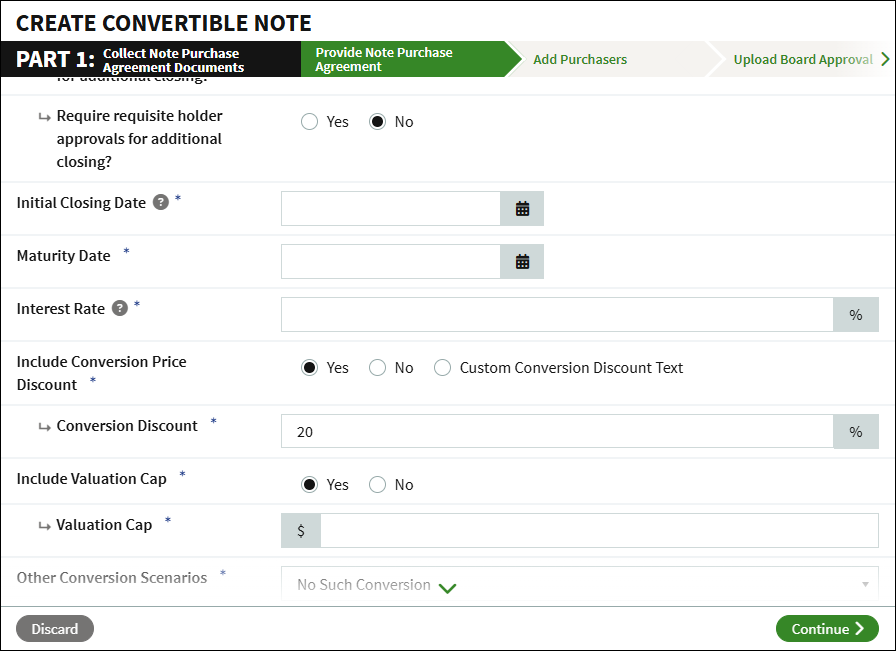
Enter the terms of the NPA and click Continue.
Add Purchasers
Each investor associated with the NPA is added here. You will be prompted to upload the note and add the investment details for each investor.
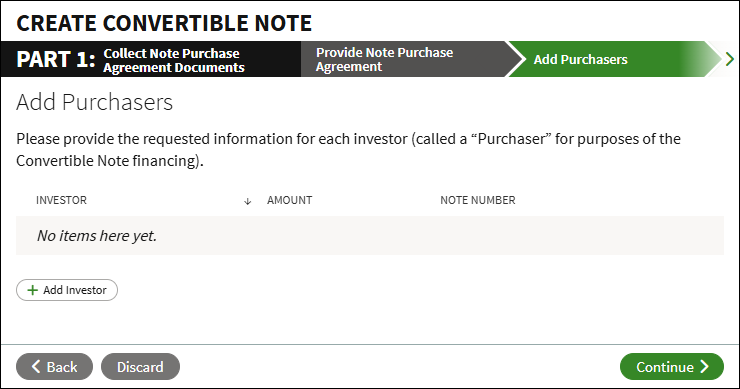
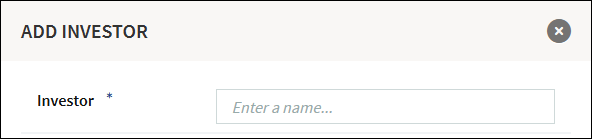
- Click Add Investor.
- Search for and select the investor's name, or select Create New User and enter their information.
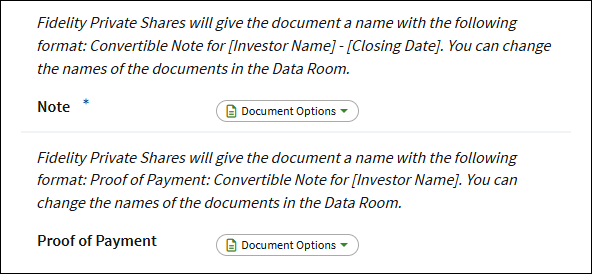
- Upload the Note, and optional Proof of Payment. Click Document Options to either select the document from the Data Room, or to upload it from your computer.
- Enter the Note Amount, Closing Date, and Note Number if applicable.
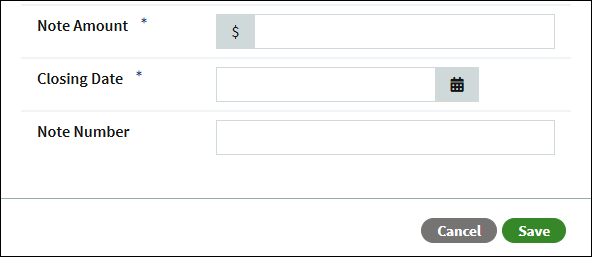
- Click Save.
- Repeat these steps for any additional investors.
- Click Continue.
Upload Board Approval
Upload the associated board approval.
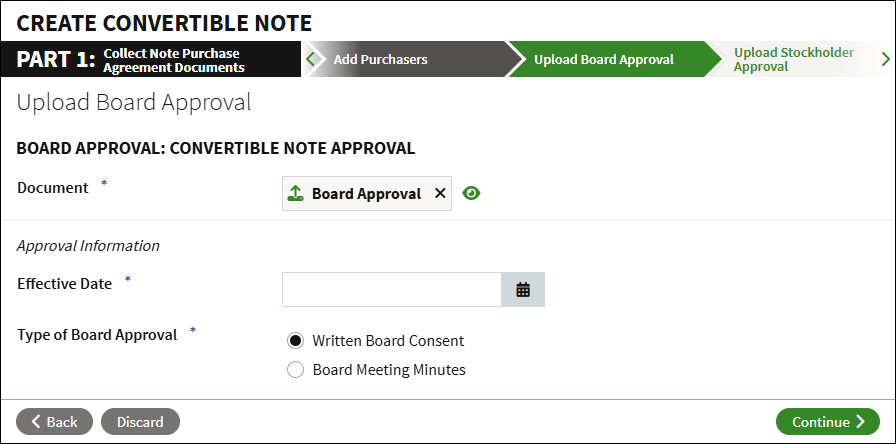
- Click Document Options to upload the approval from your computer or select it from the Data Room.
- Enter the Effective Date, and select the type of approval.
- Click Continue.
Upload Stockholder Approval
If applicable, upload the associated Stockholder Approval.
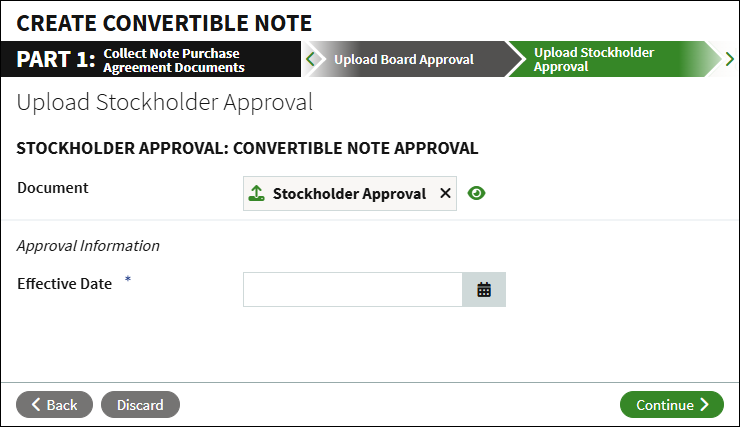
- Click Document Options to upload the approval, select it from the Data Room, or you can waive uploading the approval.
- Enter the Effective Date.
- Click Continue.
Upload Secretary Certificate
If applicable, upload the Secretary Certificate
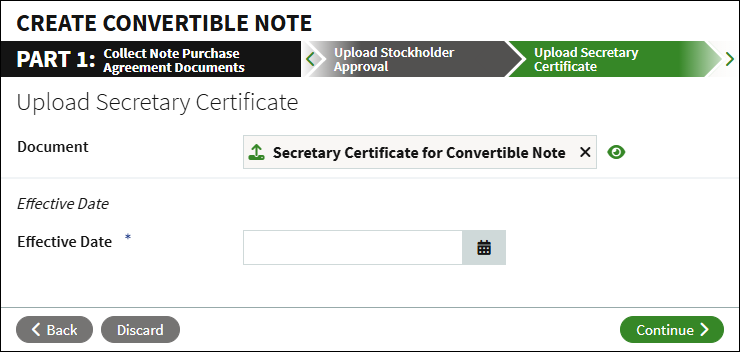
- Click Document Options to upload the certificate, select it from the Data Room, or you can waive uploading the certificate.
- Enter the Effective Date.
- Click Continue.
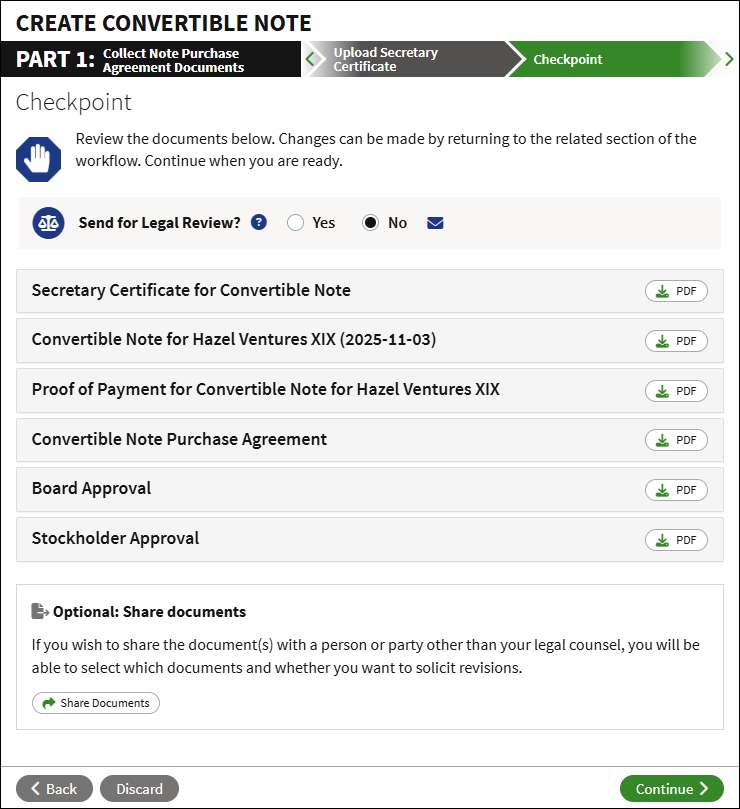
Checkpoint
Take time to review the uploaded documents. If you need to make any changes you can return to that step of the workflow. You can opt to send the workflow for legal review, or you can optionally share the documents with other users. When ready to move forward, click Continue.
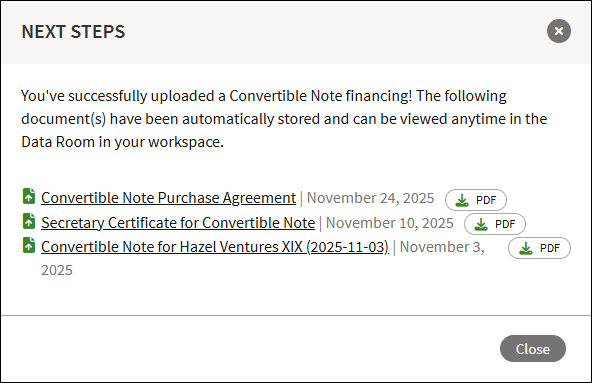
Next Steps
At this point the NPA and other associated documents have been added to your account. The cap table will update to include the new notes, and all documents will be automatically placed in the Data Room.
Screenshots are for illustrative purposes only.
Fidelity does not provide legal or tax advice. The information herein is general in nature and should not be considered legal or tax advice. Consult an attorney or tax professional regarding your specific situation.
Fidelity Private Shares LLC provides cap table management and other administrative services to private companies and their equity compensation plans.
Fidelity Private Shares LLC
© 2025 FMR LLC. All rights reserved.
1235228.1.0